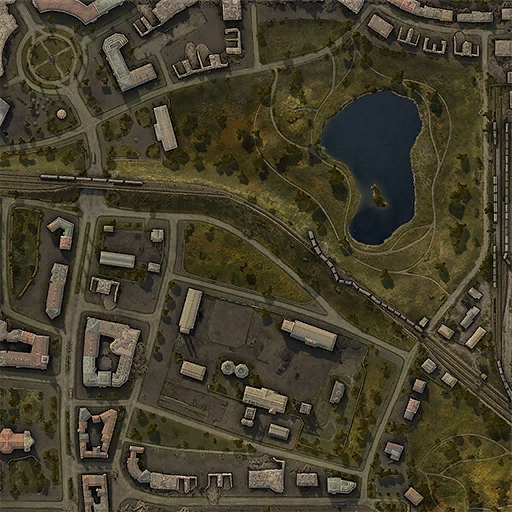
Widepark
| |
Dieser Artikel ist noch nicht vollständig übersetzt. Du kannst dem Wargaming-Wiki helfen, indem du ihn erweiterst. |
This map depicts an industrial city devastated by war. A railway embankment divides the map in two, making it possible to concentrate forces for an attack or counterattack.
Camo Type: Summer
Strategy
Widepark is a standard "one flank attacks, one flank defends" map. South attacks from the 2 line, while North attacks from the 0 line. They key to victory is to balance attack and defense, because the map is fairly small and the breakthrough points are fairly close to each base.
First and foremost, scout tanks should race up to the railway tracks and peak over the ridge. A good spot can reveal large amounts of enemy movement, especially for the South spawn. With that info, tanks should disperse accordingly to match the enemy strength for strength.
Tank destroyers that are more oriented towards sniping, along with brawlers, should head for the "long" flank, where their strengths will be played to their advantages. This sets up the conditions for a powerful push against enemy defenses.
On the other hand, ambush tank destroyers and medium tanks should find their "short" flank as a good place to deploy defensive techniques. TDs should stay on the southeast Hill (South) or the western edge of the ruins (North) where they can securely hold their ground and shoot out enemies. Mediums and defender heavies should move up and engage the enemy push before they get overrun.
Do note that North has it worse in an overrun - South has an industrial area as a buffer region, where brawlers can make a surprisingly effective last stand and turn the tide. North does NOT really get this privilege, having only a few linear ruins and some buildings that will not stand up against a push.
All in all, victory in this map comes from supporting each flank adequately so that you can overrun them on one side, but not get overrun on the other side.
