Difference between revisions of "El Halluf"
| Revision as of 21:06, 8 February 2012 | Revision as of 12:06, 27 March 2017 | |||
8 intermediate revisions by 5 users not shown | ||||
| Line 1: | Line 1: | |||
| ? | {{ | + | {{MapDetails | |
| ? | | | + | |Size = 1000×1000 | |
| ? | | | + | |Map type = Desert | |
| ? | + | |Battle Tier limit = 4-11 | ||
| ? | + | |||
| ? | | | + | ||
| }} | }} | |||
| + | A large valley filled with rocks, vegetation, and a small village surrounding a dried out river bed separate the two teams. The large hills on either side of the valley offer many firing positions, and very little cover in the valley will protect a large tank completely against all positions. Regardless of approach, attackers will face a long climb into the enemy's camp, and effective use of the cover en route is essential. The northern approach offers plentiful protection to attack either hill, but the southern approach makes up for lack of protection with shorter distances and better concealment. | |||
| + | ||||
| + | = Tactics = | |||
| + | ||||
| + | Typically both sides will spread out a few snipers along the ridgelines to defend against any rushes through the middle and counter-snipe, which ideally are TDs but other tank types will also work to a lesser effectiveness. It's important for snipers to have cover nearby, as although the ridges are at the edge of spotting and render distance from each other, tanks in the center valley can spot those on the ridges. | |||
| + | ||||
| + | Heavily armored tanks should head north or west (depending on the spawn) towards the A1 corner. Traditionally, the northern flank takes a more defensive approach and allows the southern flank to cross the valley and advance partially up into A2. From the south, some snipers can be left in C3 or E2 to defend against any tanks popping out from the north. A flank around from A2 to B3 and then B2 is unlikely to succeed due to snipers at B6 spotting and destroying the flanking tanks, but if successful it can be very effective. For the northern team, in addition to occupying the south road at A2-A3, the northern hills can be used, though it tends to be less effective cover when popping out to take shots. Tanks with good gun depression and turret armor are at an advantage in the north, and both teams must be mindful of artillery focusing on their positions and take appropriate cover. | |||
| + | ||||
| + | For light tanks and faster mediums, a dash to the south-eastern corner can also be used. The winner of this corner can spot the tanks on the ridges for their own snipers, as well as advance up into the enemies base to wreak havoc on TDs and SPGs. Less contested but also less effective positions can also be found elsewhere in the valley. Typically, the map is decided by whichever team can more quickly win the north-east corner or advance into the enemy base from the south-west. | |||
| + | ||||
| + | SPGs should primarily focus at the A2 corner, though this may be difficult for SPGs with poor gun arcs, especially the French, to hit targets behind cliffs. However, SPGs should also take advantage of any spotted snipers on the ridges. | |||
| + | {{VideoYT|E3Ixp77vglM}} | |||
| {{To Do}} | {{To Do}} | |||
| ? | [[ | + | [[de:El Halluf]] | |
| + | [[Category:Maps]] | |||
Revision as of 12:06, 27 March 2017


- Map
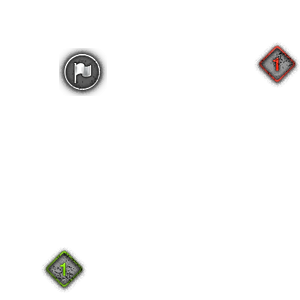
- Standard battle
- Encounter Battle
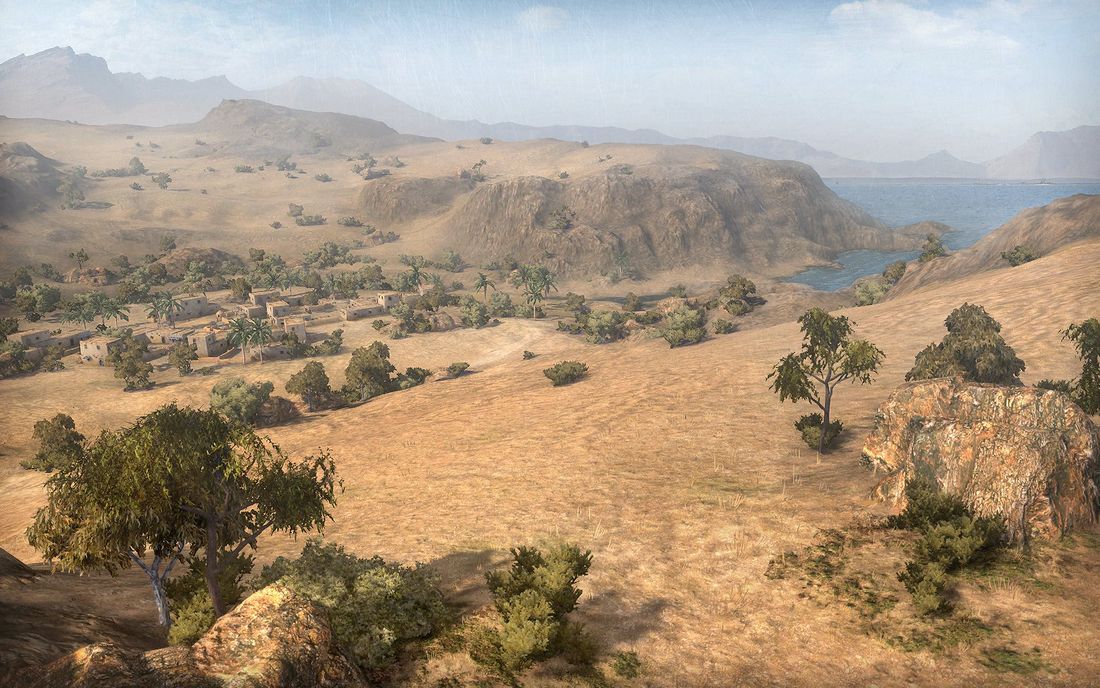
A large valley filled with rocks, vegetation, and a small village surrounding a dried out river bed separate the two teams. The large hills on either side of the valley offer many firing positions, and very little cover in the valley will protect a large tank completely against all positions. Regardless of approach, attackers will face a long climb into the enemy's camp, and effective use of the cover en route is essential. The northern approach offers plentiful protection to attack either hill, but the southern approach makes up for lack of protection with shorter distances and better concealment.
Tactics
Typically both sides will spread out a few snipers along the ridgelines to defend against any rushes through the middle and counter-snipe, which ideally are TDs but other tank types will also work to a lesser effectiveness. It's important for snipers to have cover nearby, as although the ridges are at the edge of spotting and render distance from each other, tanks in the center valley can spot those on the ridges.
Heavily armored tanks should head north or west (depending on the spawn) towards the A1 corner. Traditionally, the northern flank takes a more defensive approach and allows the southern flank to cross the valley and advance partially up into A2. From the south, some snipers can be left in C3 or E2 to defend against any tanks popping out from the north. A flank around from A2 to B3 and then B2 is unlikely to succeed due to snipers at B6 spotting and destroying the flanking tanks, but if successful it can be very effective. For the northern team, in addition to occupying the south road at A2-A3, the northern hills can be used, though it tends to be less effective cover when popping out to take shots. Tanks with good gun depression and turret armor are at an advantage in the north, and both teams must be mindful of artillery focusing on their positions and take appropriate cover.
For light tanks and faster mediums, a dash to the south-eastern corner can also be used. The winner of this corner can spot the tanks on the ridges for their own snipers, as well as advance up into the enemies base to wreak havoc on TDs and SPGs. Less contested but also less effective positions can also be found elsewhere in the valley. Typically, the map is decided by whichever team can more quickly win the north-east corner or advance into the enemy base from the south-west.
SPGs should primarily focus at the A2 corner, though this may be difficult for SPGs with poor gun arcs, especially the French, to hit targets behind cliffs. However, SPGs should also take advantage of any spotted snipers on the ridges.
| |
This article is a stub. You can help the Wargaming wiki by expanding it. |