Difference between revisions of "Serene Coast"
| Revision as of 21:43, 26 May 2015 | Revision as of 18:51, 9 September 2015 | |||
| Line 2: | Line 2: | |||
| |Size = 1000х1000 | |Size = 1000х1000 | |||
| |Map type = Summer | |Map type = Summer | |||
| ? | |Battle Tier limit = | + | |Battle Tier limit = 5-10 | |
| }} | }} | |||
Revision as of 18:51, 9 September 2015


- Map
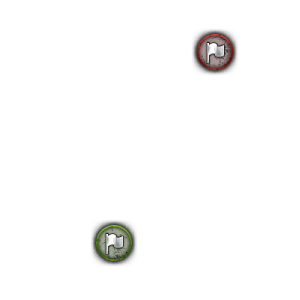
- Standard battle
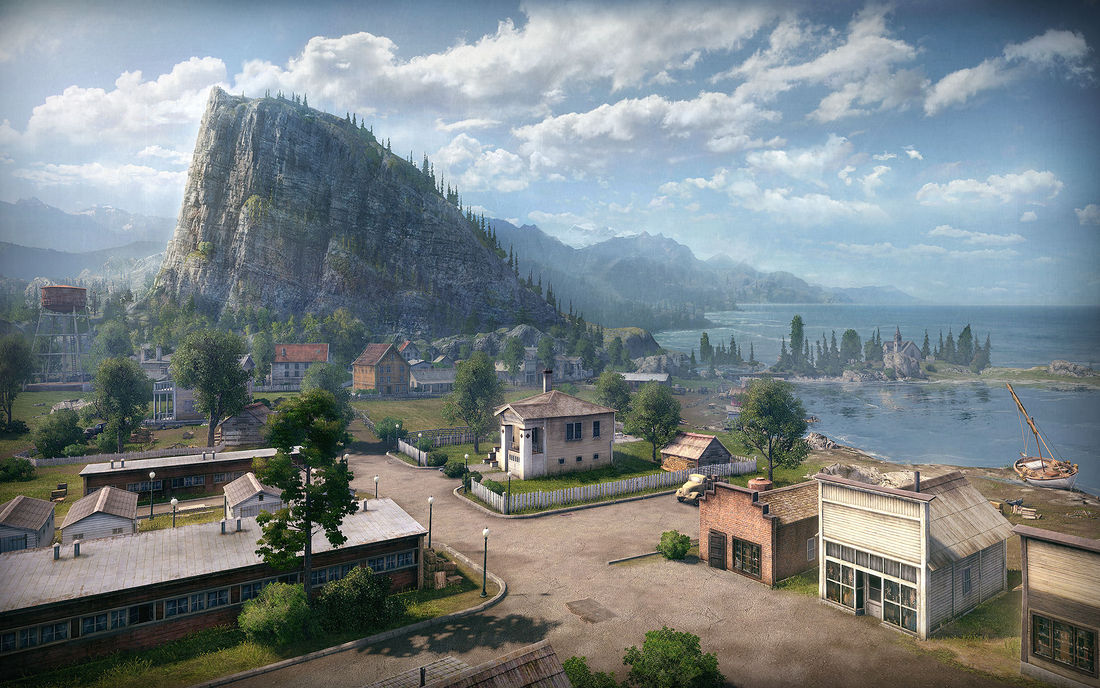
This coastal area is bounded by ocean and mountains. A railroad crosses the territory from north to south. Small hills on the western flank are favorable for a swift attack. A straight road connecting the bases passes through a small town, which often becomes a contested piece of terrain. There is also a low ground beside the town, which could be used for flanking the west and the middle. The bases are protected by the hills from direct attacks. However, the flanks of the bases are insecure and must be protected.
Strategy
While only playable in Standard Battle mode, this map has to be played like a psuedo-assault map - the team spawning South can take up good offensive and defensive positions more than halfway up the map, while those in the North have positions relatively close to spawn. The battle will be decided on whether South can bring enough firepower to overwhelm North's defenses, or whether North can break the attack and push. This is often harder for North than South, hence many allegations that this map is unbalanced.
The map is relatively open, and favours artillery support - except that North has the advantage of a village (D7) to protect part of their forces. However, North's forces taking the upper flank will not enjoy this advantage.
For those spawning South, the first step is for fast mediums, snipers and at least 1-2 heavy tanks to take the hill (F2), which provides an excellent sniping position. They should then roll down to C2 and brawl with the enemy. The rest of the heavies should go to the rocks (F6/F7) and be prepared to brawl and dodge fire from the village. Sniping tanks and Tank destroyers can set up behind the heavies and provide fire support, advancing as the line moves. Artillery will be relatively comfortable at spawn, and scouts can make a scouting run down the middle. If they can penetrate the enemy's front lines, they can hunt down SPGs by heading to the enemy base.
For those spawning North, there is not much that can be done at the start. Some tanks, preferably a mix of fast brawlers, flankers and breakthrough heavies, should head to B3 and prepare for the assault - but only by the road from A7. Entering via C4 is an invitation to be blown up almost instantly by the garrison at the hill! Once there, peek-a-boo to ascertain enemy forces, and plan a defensive strategy to wipe out incoming pushes. The rest of the tanks and TDs should deploy at the village, the bridge and the island (E9), using cover to avoid artillery shells and enemy tank rounds. Scouts should then light up the right flank - but it is not easy to get to the artillery from there, and even then they may not be at the base. Thus, a scout and retreat strategy should be effected for maximum efficiency. Artillery can station themselves at the base or a tiny piece of land at D0 in relative safety
South will win if it successfully grabs B3 and/or the village, with the former presenting better odds of success. In such a situation, the other flank must immediately push and sandwich the remaining enemy forces, then proceed to capture the enemy base or wipe out all enemies.
On the other hand, North's best (and arguably only) hope of winning is to push back the enemy at C2, then make a dash for the hill and clean it out. They must then roll down the hill and get to the enemy base, clearing out enemy artillery and capturing the base.
As of patch 8.4, this map was removed from the map pool for random battles.
As of patch 8.8, this map was added back into the map pool for random battles.
| |
This article is a stub. You can help the Wargaming wiki by expanding it. |