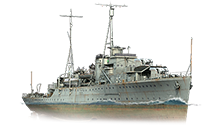
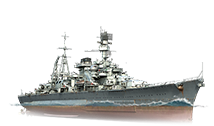
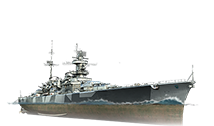
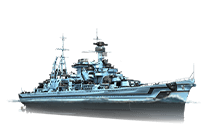
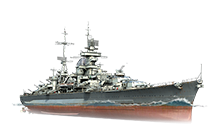
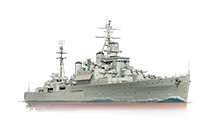
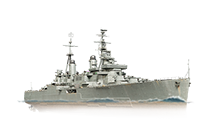
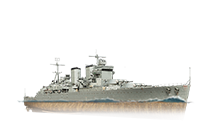
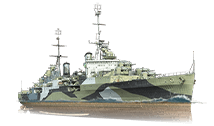
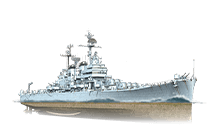
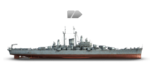
Destroyers
| Revision as of 14:31, 17 May 2016 Created page with "{{#vardefine:cur_class|Cruiser}}{{AnnoWiki |pic = Wows-{{WoWs_Class|{{#var:cur_class}}|ss}}.png |content = '''{{WoWs_Class|{{#var:cur_class}}|bs}}''' — one of warship types..." | Revision as of 10:06, 21 May 2016 | |||
| Line 1: | Line 1: | |||
| {{#vardefine:cur_class|Cruiser}}{{AnnoWiki | {{#vardefine:cur_class|Cruiser}}{{AnnoWiki | |||
| |pic = Wows-{{WoWs_Class|{{#var:cur_class}}|ss}}.png | |pic = Wows-{{WoWs_Class|{{#var:cur_class}}|ss}}.png | |||
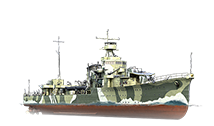
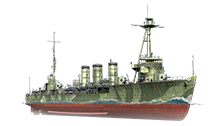
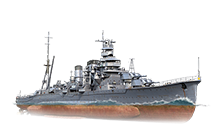
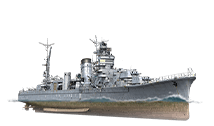
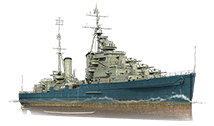
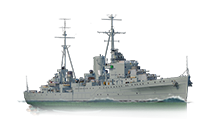
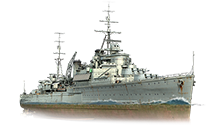
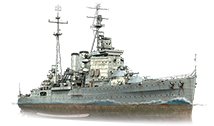
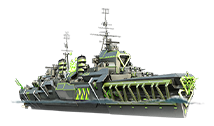
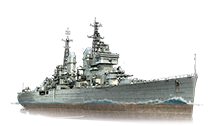
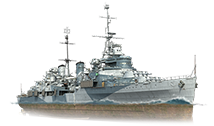
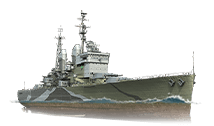
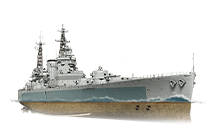
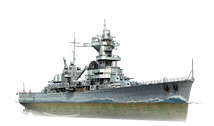
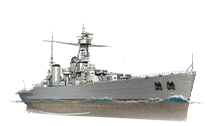
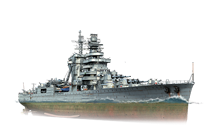
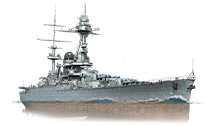
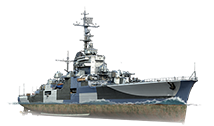
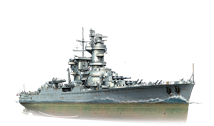
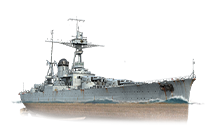
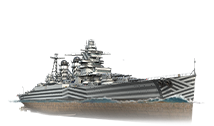
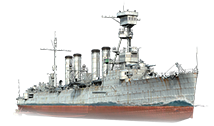
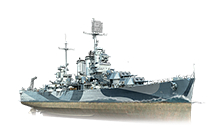
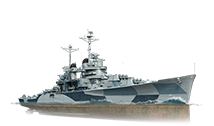
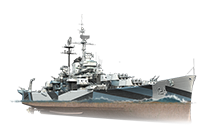
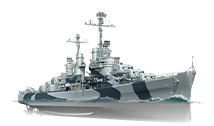
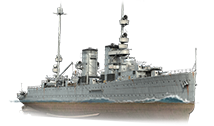
| ? | |content = ''' | + | |content = Small, light and unassuming, destroyers may not be the most durable of ships, but all of them are well capable of punching many times above their weight through a deadly mix of speed, maneuverability, stealth and astounding firepower. Torpedoes are their main weapon, and no one is safe from them...not even teammates (or rather, ''especially'' teammates). Destroyers are often called upon to scout out enemy positions, provide support - either with a smokescreen or as a distraction - and/or perform precise strikes on individual targets behind enemy lines. | |
| + | ||||
| + | Developed in the late 19th century to combat torpedo boats (hence their original name ''torpedo boat destroyer''), they gradually took over the role of the torpedo boats themselves, but lacked speed and operating range. Over time, improvements in engine design allowed them to overcome this deficiency, and naval commanders began to utilise them more often than any other type of ship due to their new-found flexibility, lower costs and ease of deployment. Destroyer development post-World War I era was heavily influenced by the very successful V and W classes of the Royal Navy, although the various nations would eventually branch out into very different design philosophies, brought about by the unique circumstances they found themselves in. The Imperial Japanese Navy in particular placed great emphasis on the development of destroyers and torpedoes, being acutely aware of Japan's numerical and industrial inferiority compared to western nations. After World War II, with the advent of long-range anti-surface and anti-air missile technology, along with the widespread use of helicopters, destroyers evolved to be the workhorse ship of modern navies throughout the world. | |||
| + | ||||
| + | While all destroyers have excellent speed, maneuverability and concealment, their most dreaded weapon is the torpedo; their effective use is directly correlated with the effectiveness of the destroyer (each nation have their differences, however). Torpedoes can cripple or outright destroy any type and class of ship they encounter as long as they can hit them, and they do not reveal the destroyer's location when launched, making them excellent assassins. Well-placed torpedo salvos are an art form, be it having torpedoes "appear" out of nowhere, fired preemptively around land masses or used as area denial in narrow straits. However, unlike shells fired from guns, torpedoes have longer travel times, do not have the benefit of arcing over land masses, and as mentioned earlier, do not differentiate between friend or foe; destroyer captains should always be aware of nearby teammates such that the latter does not end up being sunk instead of the enemy...but there will always be oblivious teammates who run right into them anyway. | |||
| + | ||||
| + | In addition, the locations of torpedo tubes falls into two main configurations: one can launch torpedoes off both sides of the ship on 360-degree swivel mounts and the other can only launch them off either sides of the ship. Both have their advantages and disadvantages - ships using 360-degree mounts have large firing arcs, can easily bring their entire torpedo arsenal to bear on a single target and escape afterward in a "shoot-and-scoot" tactic, especially useful for destroyers, but these tubes are often exposed on the top decks and vulnerable to damage from enemy fire; tubes located along the sides of the ships are usually protected but have limited firing arcs (although this also means that the tubes spend less time turning to aim at the target as well) and the ship has to expose both sides to fully utilise her torpedoes. | |||
| + | ||||
| + | Destroyers also have 2 main abilities: '''Smoke Screen''' and '''Engine Boost'''. Smoke Screen lays down vision-obscuring smoke every few seconds, hiding the destroyer (and anything behind it) as long as they stay within the smokescreen for long enough to lay the next puff of smoke, or keeping the smokescreen between them and the enemy. Smoke Screens however, also work both ways; they can hide the enemy if you let them go behind or into it as well. They also do not obscure the ship closer than 2km range or the Hydroacoustic Search's effective radius (See this [[Battle_Mechanics_(WoWS)#Spotting_Mechanics|page]] for details). Engine Boost increases the engine power of the destroyer by 8%, increasing its mobility and making it even more difficult to hit - assuming the destroyer has the presence of mind to perform evasive maneuvers and/or duck in and out of islands. | |||
| + | ||||
| + | ||||
| + | In Domination mode, losing a destroyer will deduct 45 points off the team's point counter and add 30 points to the opponent's counter. | |||
| }}__NOTOC__ | }}__NOTOC__ | |||
| {{#vardefine:list|{{WoWs Nation||list}}}}{{#vardefine:i|0}}{{#while:|{{#if:{{#explode:{{#var:list}}|;|{{#var:i}}}}|true}}| | {{#vardefine:list|{{WoWs Nation||list}}}}{{#vardefine:i|0}}{{#while:|{{#if:{{#explode:{{#var:list}}|;|{{#var:i}}}}|true}}| | |||
| {{#vardefine:cur_nation|{{#explode:{{#var:list}}|;|{{#var:i}}}}}}{{#if:{{WoWs_ShipsList|{{#var:cur_nation}}|{{#var:cur_class}}|||text}}|<div class="wot-frame-1"><h2>{{WoWs Nation|{{#var:cur_nation}}|bi}}</h2> | {{#vardefine:cur_nation|{{#explode:{{#var:list}}|;|{{#var:i}}}}}}{{#if:{{WoWs_ShipsList|{{#var:cur_nation}}|{{#var:cur_class}}|||text}}|<div class="wot-frame-1"><h2>{{WoWs Nation|{{#var:cur_nation}}|bi}}</h2> | |||
| {{WoWs_ShipsList|{{#var:cur_nation}}|{{#var:cur_class}}|||icons}}</div>}}{{#vardefine:i|{{#expr:{{#var:i}}+1}}}}}} | {{WoWs_ShipsList|{{#var:cur_nation}}|{{#var:cur_class}}|||icons}}</div>}}{{#vardefine:i|{{#expr:{{#var:i}}+1}}}}}} | |||
Revision as of 10:06, 21 May 2016
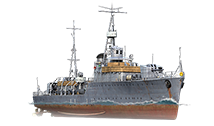
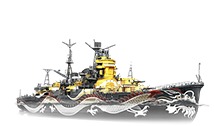
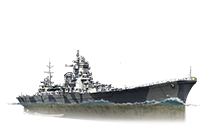
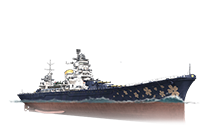
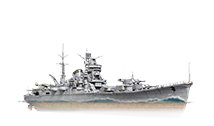
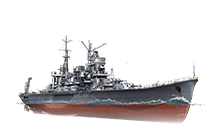
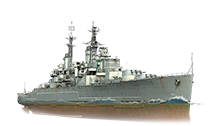
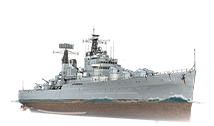
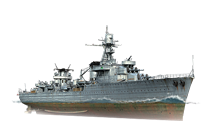
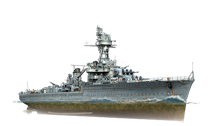
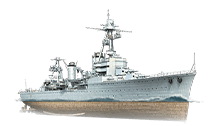
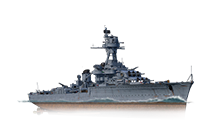
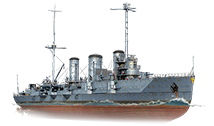
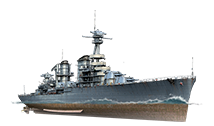
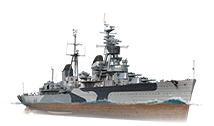
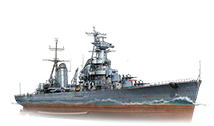
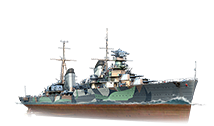
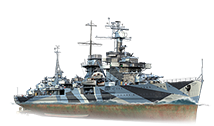
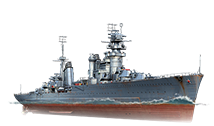
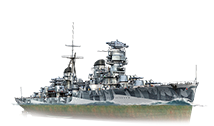
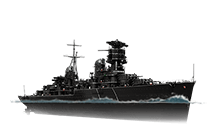
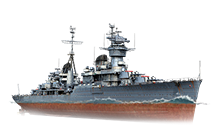
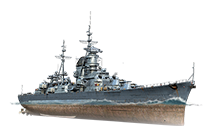
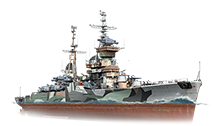
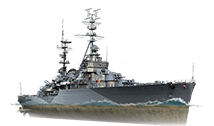
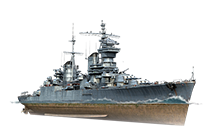
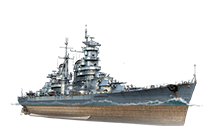
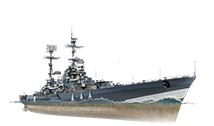
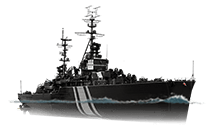
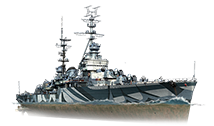
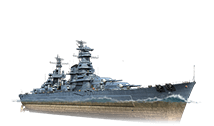
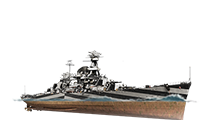
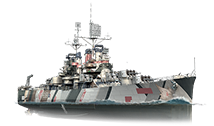
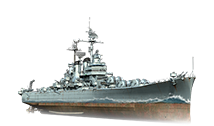
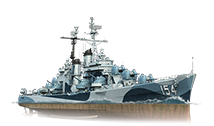
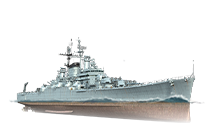
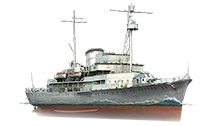
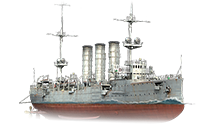
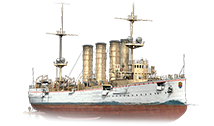
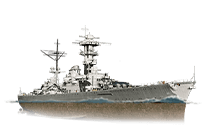
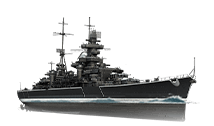
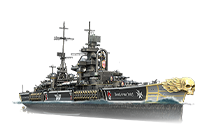
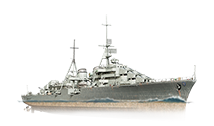
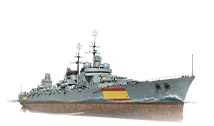
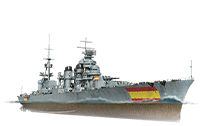
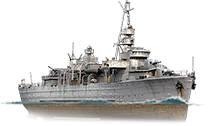
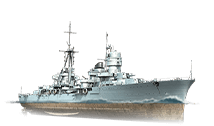
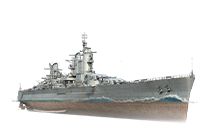
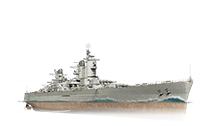
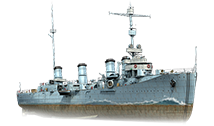
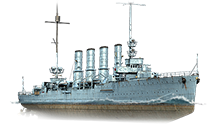
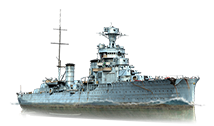
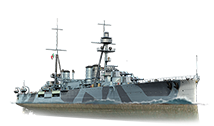
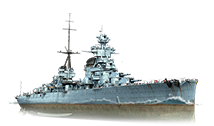
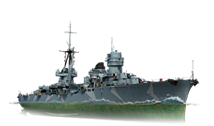
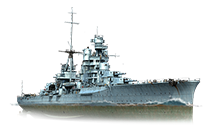
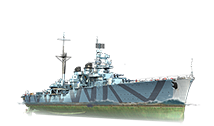
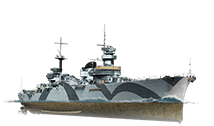
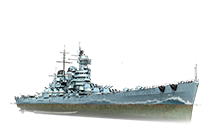
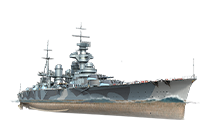
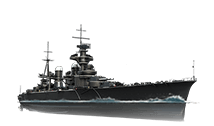
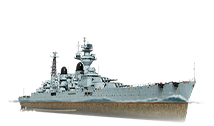
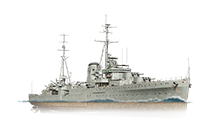
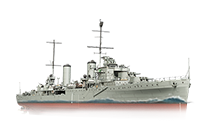
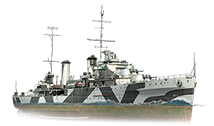
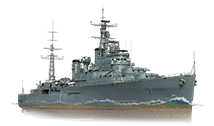
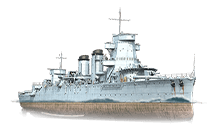
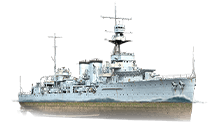
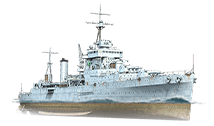
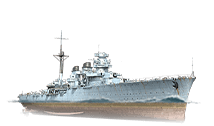
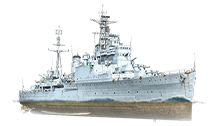
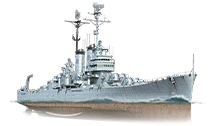
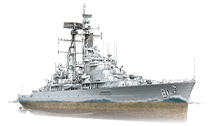
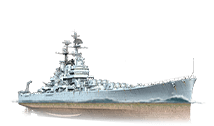
Developed in the late 19th century to combat torpedo boats (hence their original name torpedo boat destroyer), they gradually took over the role of the torpedo boats themselves, but lacked speed and operating range. Over time, improvements in engine design allowed them to overcome this deficiency, and naval commanders began to utilise them more often than any other type of ship due to their new-found flexibility, lower costs and ease of deployment. Destroyer development post-World War I era was heavily influenced by the very successful V and W classes of the Royal Navy, although the various nations would eventually branch out into very different design philosophies, brought about by the unique circumstances they found themselves in. The Imperial Japanese Navy in particular placed great emphasis on the development of destroyers and torpedoes, being acutely aware of Japan's numerical and industrial inferiority compared to western nations. After World War II, with the advent of long-range anti-surface and anti-air missile technology, along with the widespread use of helicopters, destroyers evolved to be the workhorse ship of modern navies throughout the world.
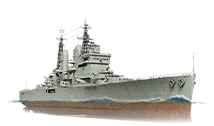
While all destroyers have excellent speed, maneuverability and concealment, their most dreaded weapon is the torpedo; their effective use is directly correlated with the effectiveness of the destroyer (each nation have their differences, however). Torpedoes can cripple or outright destroy any type and class of ship they encounter as long as they can hit them, and they do not reveal the destroyer's location when launched, making them excellent assassins. Well-placed torpedo salvos are an art form, be it having torpedoes "appear" out of nowhere, fired preemptively around land masses or used as area denial in narrow straits. However, unlike shells fired from guns, torpedoes have longer travel times, do not have the benefit of arcing over land masses, and as mentioned earlier, do not differentiate between friend or foe; destroyer captains should always be aware of nearby teammates such that the latter does not end up being sunk instead of the enemy...but there will always be oblivious teammates who run right into them anyway.
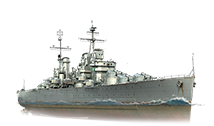
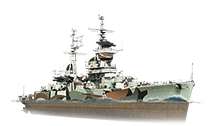
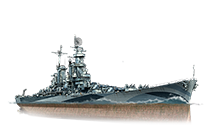
In addition, the locations of torpedo tubes falls into two main configurations: one can launch torpedoes off both sides of the ship on 360-degree swivel mounts and the other can only launch them off either sides of the ship. Both have their advantages and disadvantages - ships using 360-degree mounts have large firing arcs, can easily bring their entire torpedo arsenal to bear on a single target and escape afterward in a "shoot-and-scoot" tactic, especially useful for destroyers, but these tubes are often exposed on the top decks and vulnerable to damage from enemy fire; tubes located along the sides of the ships are usually protected but have limited firing arcs (although this also means that the tubes spend less time turning to aim at the target as well) and the ship has to expose both sides to fully utilise her torpedoes.
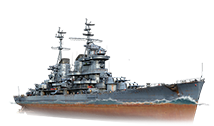
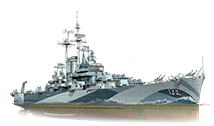
Destroyers also have 2 main abilities: Smoke Screen and Engine Boost. Smoke Screen lays down vision-obscuring smoke every few seconds, hiding the destroyer (and anything behind it) as long as they stay within the smokescreen for long enough to lay the next puff of smoke, or keeping the smokescreen between them and the enemy. Smoke Screens however, also work both ways; they can hide the enemy if you let them go behind or into it as well. They also do not obscure the ship closer than 2km range or the Hydroacoustic Search's effective radius (See this page for details). Engine Boost increases the engine power of the destroyer by 8%, increasing its mobility and making it even more difficult to hit - assuming the destroyer has the presence of mind to perform evasive maneuvers and/or duck in and out of islands.