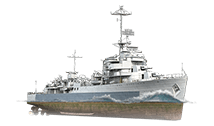
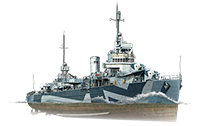
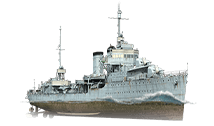
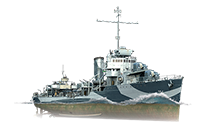
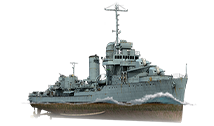
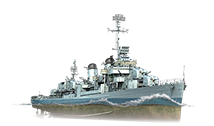
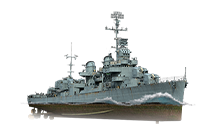
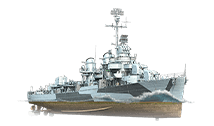
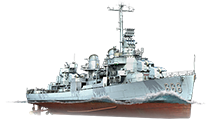
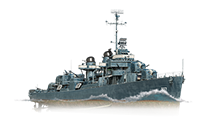
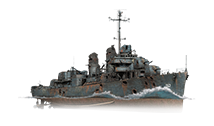
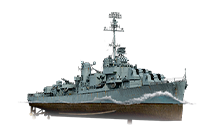
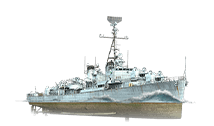
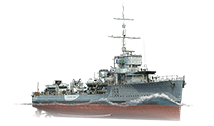
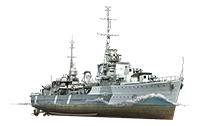
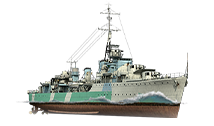
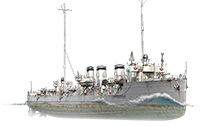
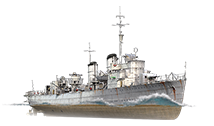
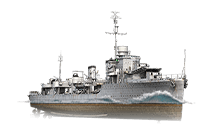
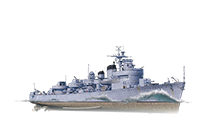
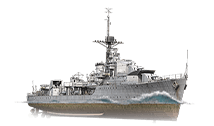
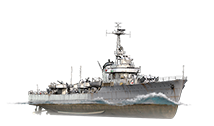
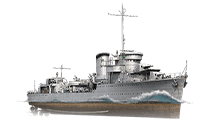
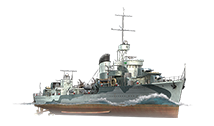
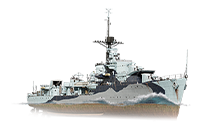
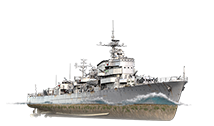
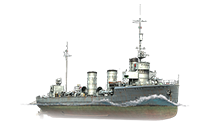
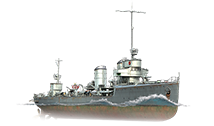
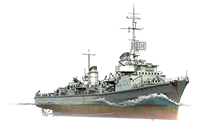
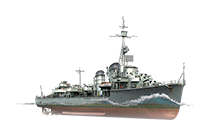
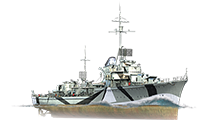
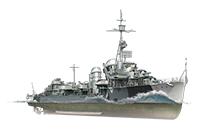
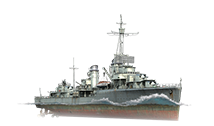
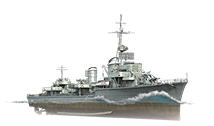
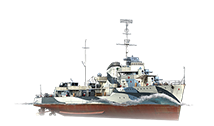
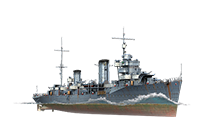
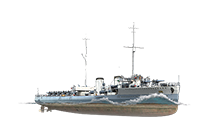
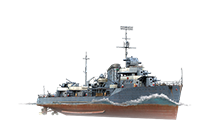
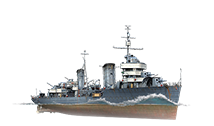
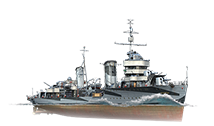
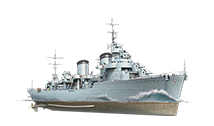
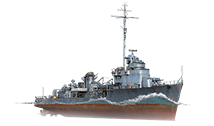
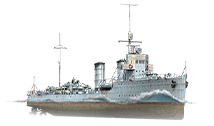
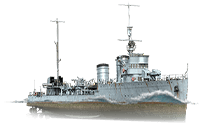
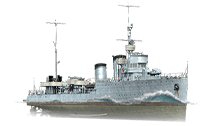
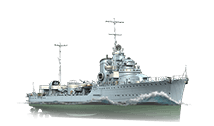
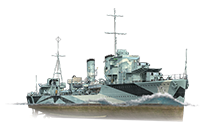
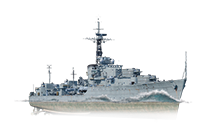
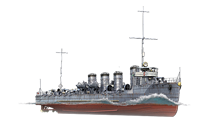
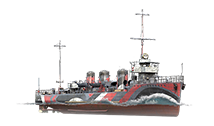
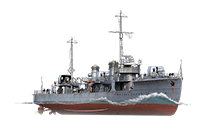
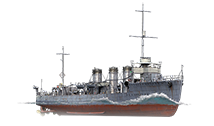
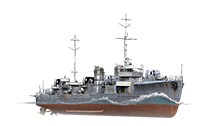
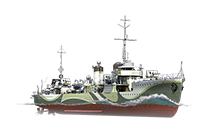
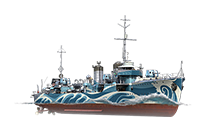
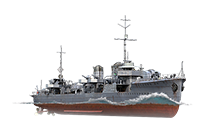
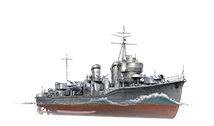
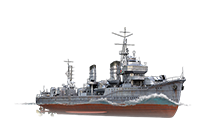
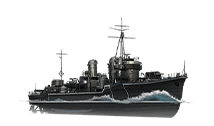
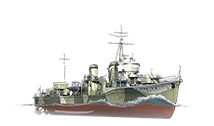
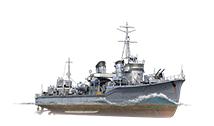
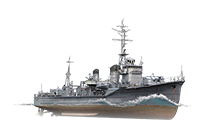
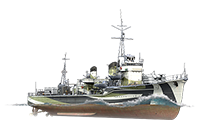
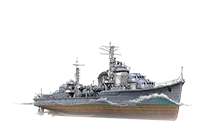
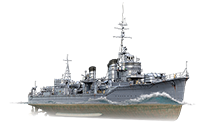
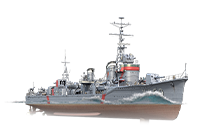
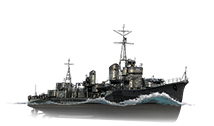
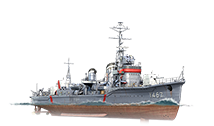
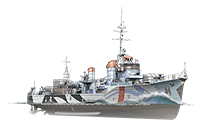
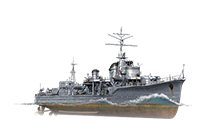
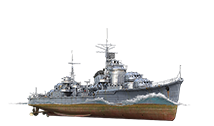
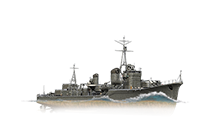
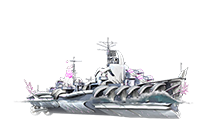
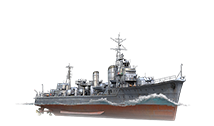
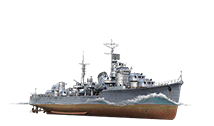
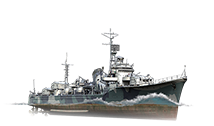
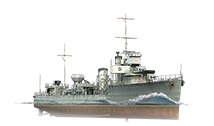
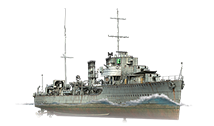
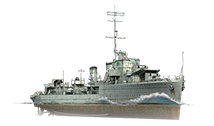
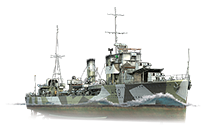
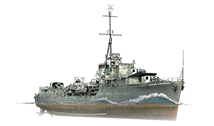
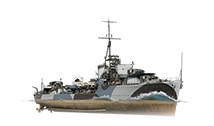
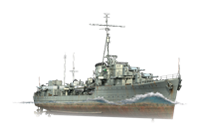
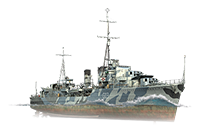
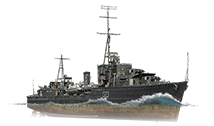
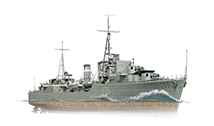
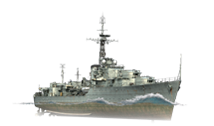
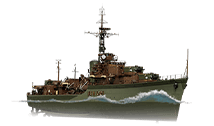
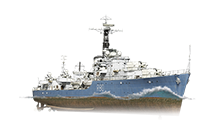
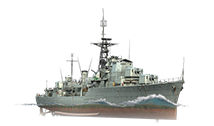
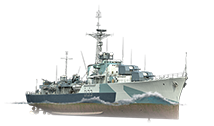
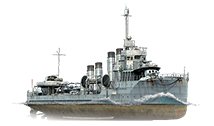
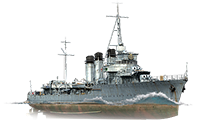
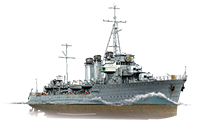
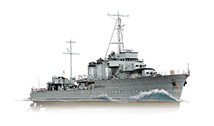
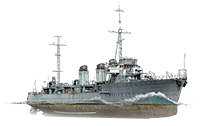
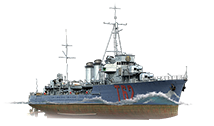
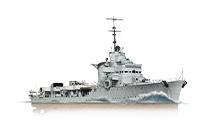
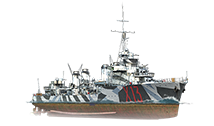
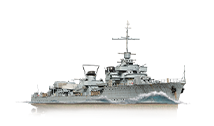
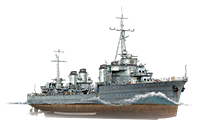
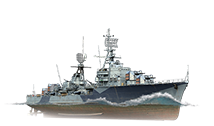
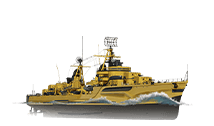
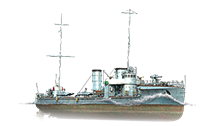
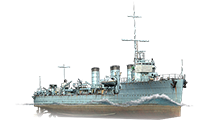
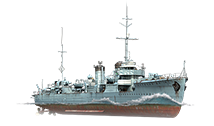
艦艇:驅逐艦
驅逐艦在隊伍中扮演著多功能的角色。不管是利用快速填裝的火炮系統擊退敵人輕型艦艇、以足以造成毀滅性傷害的艦載魚雷牽制重型目標、依靠高隱蔽偵查敵方基地,還是施放煙霧掩護隊友,驅逐艦總能找到屬於自己的工作,為團隊帶來輝煌的勝利。
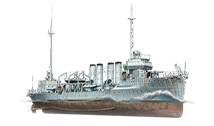
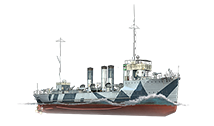
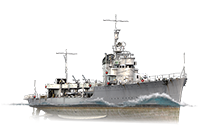
作為一個前所未有的艦種,驅逐艦於十九世紀後期研發以對付小型魚雷艇(因此,驅逐艦的原名即為「魚雷艇驅逐艦」(torpedo-boat destroyer))。自從該艦種出現後,驅逐艦逐漸取代了小型魚雷艇的角色,然而機動性的缺乏與續航力的不足卻使驅逐艦難以發展其定位。隨著時間的推移,推進系統的改良使該艦種得以克服前述的缺陷,而驅逐艦也因其驚人的機動性、較低的維護成本與易於快速部屬的靈活性深受海軍上層喜愛,開始以驅逐艦代替其餘類型的軍艦執行任務。英國皇家海軍成功的V級與W級驅逐艦對第一次世界大戰後的驅逐艦設計概念有著深遠的影響,而各國也依照自身所需走上不同的道路。以舊日本帝國海軍為例,因其敏銳的領悟本國工業能力的不足(與西方國家相比),海軍高層特別積極發展成本低廉的驅逐艦與能夠以小博大的魚雷。第二次世界大戰後,隨著擁有制導能力的對地、對空飛彈與艦載直升機的出現,驅逐艦正式成為了各國現代海軍的主力軍艦。
當然,所有的驅逐艦都具有出色的速度、機動性與隱蔽性,但她們最令人畏懼的武裝還是以魚雷首屈一指。魚雷武器是否具有威脅性直接影響了驅逐艦的作戰效率,只要魚雷命中目標就能癱瘓或摧毀中小型軍艦,而複數魚雷擊中大型艦艇也會帶來船艙進水等麻煩。除此之外,發射魚雷並不會如火炮射擊後會產生巨響與炮焰,從而使驅逐艦成為優秀的暗殺者。不管是先發制人的朝敵方可能出現的位置開火,還是在狹窄海域中作為牽制之用,驅逐艦決定何時、何地向何種目標放出魚雷可說是種藝術。然而與經由砲火發射的砲彈不同,魚雷必須在漫長的航行時間後才有機會擊中目標;這點為驅逐艦玩家帶來了風險,無論是目標轉向了計劃外的航向,抑或是隊友突如其來的決定為自己帶來災難—驅逐艦玩家在射擊魚雷之前一定要注意隊友的位置,如此一來,被魚雷命中的才不會是隊友而非敵人。
In addition, the locations of torpedo tubes falls into two main configurations: one can launch torpedoes off both sides of the ship on 360-degree swivel mounts and the other can only launch them off either sides of the ship. Both have their advantages and disadvantages: ships using 360-degree mounts have large firing arcs, can easily bring their entire torpedo arsenal to bear on a single target and escape afterward in a "shoot-and-scoot" tactic, especially useful for destroyers, but these tubes are often exposed on the top decks and vulnerable to damage from enemy fire; tubes located along the sides of the ships are usually protected but have limited firing arcs (although this also means that the tubes spend less time turning to aim at the target as well) and the ship has to expose both sides to fully utilize her torpedoes.
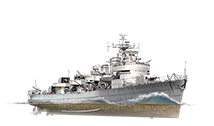
While their purpose is nearly universal, they vary based on nationality. Japanese destroyers severely lack gun firepower compared to their contemporaries, are extremely fragile, and are can do little else but attempt to flee if spotted by hostile ships; in exchange, they all can torpedo their targets beyond detection range and have the strongest torpedoes in their respective tiers. The United States has "brawling" destroyers that have the fastest guns and a good balance of torpedoes that lack range, but nonetheless are still lethal. However, their shells take a significant amount of time to reach their target, making them ill-suited to shoot fast-moving targets at range. In addition, they are the only line of destroyers to be able to equip Defensive AA Fire — normally exclusive to cruisers — making them surprisingly effective against enemy aircraft. Russian and Soviet Destroyers are almost cruiser-like in that their primary armament is their guns, not their torpedoes which are woefully underpowered for their respective tiers, and they lack concealment. Instead, they make up for that with incredible speeds that make them nearly impossible to hit and massive health pools that surpass other nations by far, and their guns are nothing to be taken lightly. Finally, German Destroyers frequently find themselves in a middle ground between their Soviet and American counterparts, with above average stealth, good gun ballistics, and long-range torpedoes; however, slower turret traverse and rudder shift times combine with large turning circles mean they are not as difficult to hit when spotted and make them less attractive for the close-range "brawling" that the American line excels at.
Destroyers also have 2 main consumables: Smoke Generator and Engine Boost. Smoke Screen lays down vision-obscuring smoke every few seconds, hiding the destroyer (and anything behind it) as long as the destroyer stays within the smoke for long enough to lay the next puff of smoke, or keeping the smoke screen between them and the enemy. Smoke screens however, also work both ways; they can hide the enemy if you let them go behind or into it as well. They also do not obscure the ship closer than 2 km or within Hydroacoustic Search's effective radius (see Spotting Mechanics for additional details). Engine Boost increases the engine power of the destroyer by 8%, increasing its mobility and making it even more difficult to hit - assuming the destroyer has the presence of mind to perform evasive maneuvers and/or duck in and out of islands.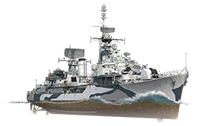
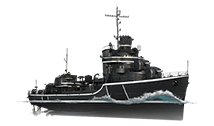
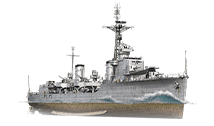
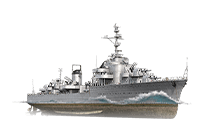
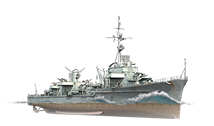
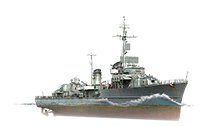
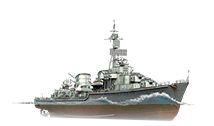
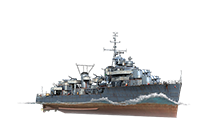
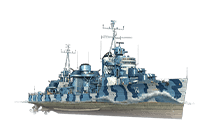
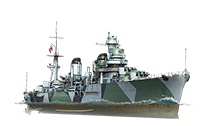
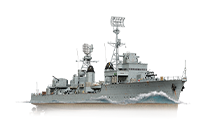
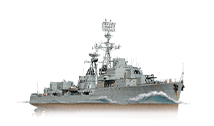
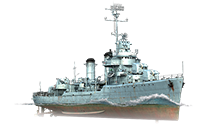
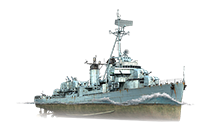
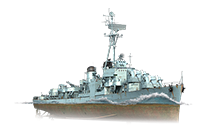
U.S.A.


N/A

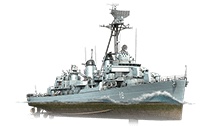


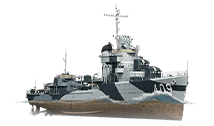
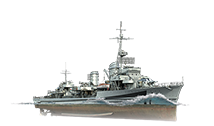
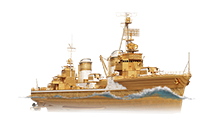
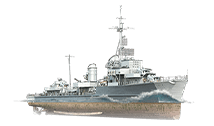
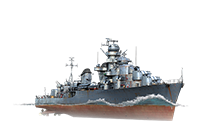
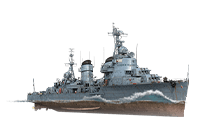
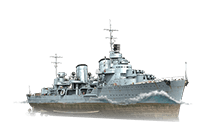
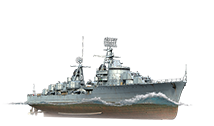
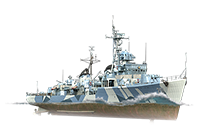
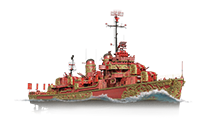
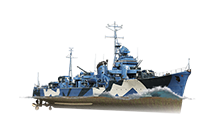
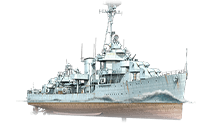
Germany
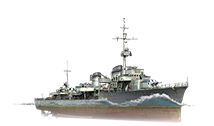

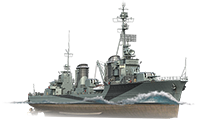
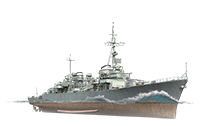
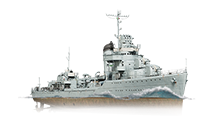
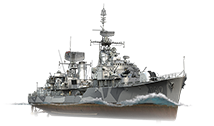
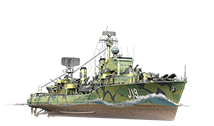
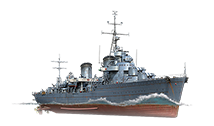
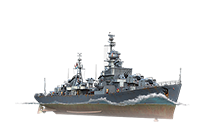
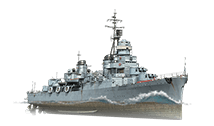
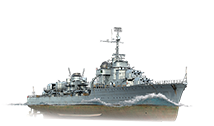
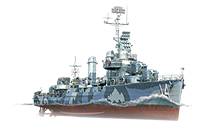
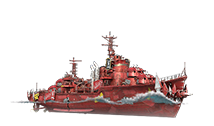
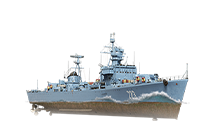
U.S.S.R.


N/A

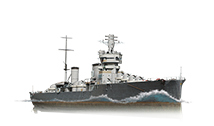
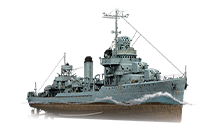
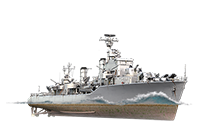
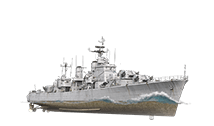
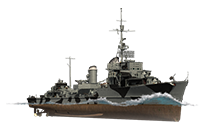
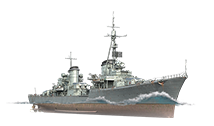
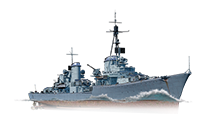
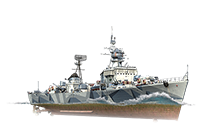
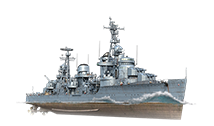
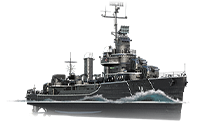
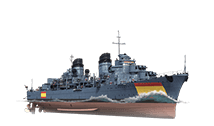
Japan


![link=Ship:[Gearing]](/zh-tw/index.php?title=%E7%89%B9%E6%AE%8A:%E4%B8%8A%E5%82%B3%E6%96%87%E4%BB%B6&wpDestFile=Ship_PASD913_Gearing_1945.png)
![link=Ship:[Grozovoi]](/zh-tw/index.php?title=%E7%89%B9%E6%AE%8A:%E4%B8%8A%E5%82%B3%E6%96%87%E4%BB%B6&wpDestFile=Ship_PRSD910_Grozovoy_pr_40N.png)
![link=Ship:[Shimakaze]](/zh-tw/index.php?title=%E7%89%B9%E6%AE%8A:%E4%B8%8A%E5%82%B3%E6%96%87%E4%BB%B6&wpDestFile=Ship_PJSD912_Shimakaze_1943.png)