USSR:修訂版本之間的差異
| 2014年12月4日 (四) 23:27的修訂版本 Missing period. | 2017年1月8日 (日) 13:39的最新修訂版本 | |||
| 第 1 行: | 第 1 行: | |||
| [[image:Graffiti_stickers_ussr_S.png|left|link=|]] | [[image:Graffiti_stickers_ussr_S.png|left|link=|]] | |||
| ? | + | 蘇聯科技樹包含由蘇聯所研發或進口至蘇聯的裝甲戰鬥車輛。雖然蘇聯戰車普遍被認為在同類型中較為突出,但這些戰車在戰場上只能發揮單一的功能,它們若要扮演其他角色會顯得非常不擅長。蘇聯研發過許多在歷史上著名而且普及於戰場上的戰車。 | ||
| ---- | ---- | |||
| ? | ||||
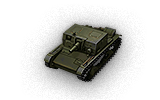
| ? | + | 蘇聯的[[Light Tanks|輕型戰車]]在同階級的戰鬥中往往是最快速的一群。正如同其他蘇聯戰車,它們的正面裝甲面積較小,並且擁有傾斜裝甲。儘管現今的地圖和階級配置讓戰鬥有更多的近距離交戰,這或許讓蘇聯戰車無法發揮他們理想中的能力,但這群輕型戰車仍然是可靠的選擇。 | ||
| ? | + | 蘇聯的[[Medium Tanks|中型戰車]]同樣快速而且易於操作,它們裝備精準火砲與其他類型的蘇聯戰車相比有著較小的擴散度(這項數值的差異在越高階越明顯)。它們在各項數值方面都十分平均,是群多功能的戰鬥好手。不幸的是,它們大部分的俯角較差,使得它們在多地形上備受限制而且常常需要仰賴它們堅固的砲塔正面裝甲。蘇聯中型戰車在履帶適應性與隱蔽性上十分優異,使它們可以在戰場上扮演無論是偵查、輸出,甚至是不受阻礙地在地圖上奔馳。蘇聯有兩條中型戰車科技線,在V階的T-34後開始分支。其中一條有前置或置中砲塔,它們的火力平庸,但是裝甲較佳;另一條後置砲塔的中型戰車科技線有較佳的火力,但俯角較差,使它們在某些地形上顯得十分無力。 | ||
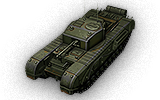
| ? | + | 蘇聯的[[Heavy Tanks|重型戰車]]有著極佳的火力,快速與強大的砲彈是它們的一大特色。它們厚重的正面裝甲除了被擊中弱點外幾乎無法被被擊穿,傾斜裝甲的設計更能讓高穿透的砲彈毫無作用。蘇聯重型戰車科技線可以分成兩條:KV系列有較厚的裝甲,卻犧牲了機動性作為代價;IS系列的裝甲必須仰賴一些角度,但在激烈的戰鬥中有著可觀的輸出和機動性。它們在精準度上和每分鐘輸出上或許比不上其他重型戰車,但它們可怕的單發傷害使得它們在偷襲上有著很好的表現。 | ||
| ? | + | 蘇聯的[[Tank Destroyers|驅逐戰車]]大部分裝甲薄弱,但有些卻有著遊戲中最好的隱蔽性。它們在戰鬥的初期可以提供足量的傷害輸出,並在中盤協助突破對手。蘇聯驅逐戰車科技線同樣分成兩條。較受人們喜愛的Object 268科技線有著高單發傷害,但移動速度較慢,視野也較差,除了砲盾以外的裝甲更是十分薄弱;另一條Object 263科技線有著驅逐戰車中頂尖的機動和裝填速度,同時它們的裝甲也較佳,但要使同階級砲彈跳彈的機會依然渺茫。使用這兩條科技線的驅逐戰車都考驗著耐心,不過它們絕對不會遜色。 | ||
| + | ||||
| + | 蘇聯的[[Self-Propelled Guns|自走砲]]普遍來說非常精準,可是傷害較為低落,儘管還是比法國自走砲優秀許多。然而,它們的砲彈有極高的射角,使砲彈飛行時間較久,但可以命中躲在岩石和低矮建築後方的敵人,它們的裝填時間也比較快。在VII到IX階的蘇聯自走砲中後會有些變化,它們變得更著重在單發傷害,只有略遜於英國自走砲的高射角被保留下來。 | |||
| ---- | ---- | |||
| ? | [[image:Tank Tree USSR.jpg|thumb|left|400px|0.9.4 | + | [[image:Tank Tree USSR.jpg|thumb|left|400px|0.9.4 蘇聯科技樹]] | |
| {{:{{PAGENAME}}/Data}} | {{:{{PAGENAME}}/Data}} | |||
2017年1月8日 (日) 13:39的最新修訂版本

蘇聯科技樹包含由蘇聯所研發或進口至蘇聯的裝甲戰鬥車輛。雖然蘇聯戰車普遍被認為在同類型中較為突出,但這些戰車在戰場上只能發揮單一的功能,它們若要扮演其他角色會顯得非常不擅長。蘇聯研發過許多在歷史上著名而且普及於戰場上的戰車。
蘇聯的輕型戰車在同階級的戰鬥中往往是最快速的一群。正如同其他蘇聯戰車,它們的正面裝甲面積較小,並且擁有傾斜裝甲。儘管現今的地圖和階級配置讓戰鬥有更多的近距離交戰,這或許讓蘇聯戰車無法發揮他們理想中的能力,但這群輕型戰車仍然是可靠的選擇。
蘇聯的中型戰車同樣快速而且易於操作,它們裝備精準火砲與其他類型的蘇聯戰車相比有著較小的擴散度(這項數值的差異在越高階越明顯)。它們在各項數值方面都十分平均,是群多功能的戰鬥好手。不幸的是,它們大部分的俯角較差,使得它們在多地形上備受限制而且常常需要仰賴它們堅固的砲塔正面裝甲。蘇聯中型戰車在履帶適應性與隱蔽性上十分優異,使它們可以在戰場上扮演無論是偵查、輸出,甚至是不受阻礙地在地圖上奔馳。蘇聯有兩條中型戰車科技線,在V階的T-34後開始分支。其中一條有前置或置中砲塔,它們的火力平庸,但是裝甲較佳;另一條後置砲塔的中型戰車科技線有較佳的火力,但俯角較差,使它們在某些地形上顯得十分無力。
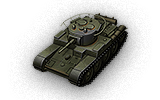
蘇聯的重型戰車有著極佳的火力,快速與強大的砲彈是它們的一大特色。它們厚重的正面裝甲除了被擊中弱點外幾乎無法被被擊穿,傾斜裝甲的設計更能讓高穿透的砲彈毫無作用。蘇聯重型戰車科技線可以分成兩條:KV系列有較厚的裝甲,卻犧牲了機動性作為代價;IS系列的裝甲必須仰賴一些角度,但在激烈的戰鬥中有著可觀的輸出和機動性。它們在精準度上和每分鐘輸出上或許比不上其他重型戰車,但它們可怕的單發傷害使得它們在偷襲上有著很好的表現。
蘇聯的驅逐戰車大部分裝甲薄弱,但有些卻有著遊戲中最好的隱蔽性。它們在戰鬥的初期可以提供足量的傷害輸出,並在中盤協助突破對手。蘇聯驅逐戰車科技線同樣分成兩條。較受人們喜愛的Object 268科技線有著高單發傷害,但移動速度較慢,視野也較差,除了砲盾以外的裝甲更是十分薄弱;另一條Object 263科技線有著驅逐戰車中頂尖的機動和裝填速度,同時它們的裝甲也較佳,但要使同階級砲彈跳彈的機會依然渺茫。使用這兩條科技線的驅逐戰車都考驗著耐心,不過它們絕對不會遜色。
蘇聯的自走砲普遍來說非常精準,可是傷害較為低落,儘管還是比法國自走砲優秀許多。然而,它們的砲彈有極高的射角,使砲彈飛行時間較久,但可以命中躲在岩石和低矮建築後方的敵人,它們的裝填時間也比較快。在VII到IX階的蘇聯自走砲中後會有些變化,它們變得更著重在單發傷害,只有略遜於英國自走砲的高射角被保留下來。

Light Tanks
 MS-1
MS-1
 BT-2
BT-2 T-45
T-45 
 T-26
T-26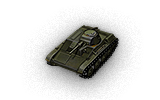 T-60
T-60 Tetrarch
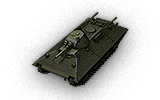
 BT-SV
BT-SV 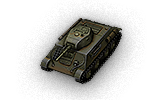 LTP
LTP  M3 Light
 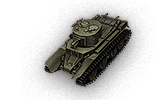 BT-7 artillery
 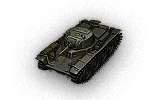 T-116
T-116 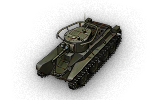 BT-5
BT-5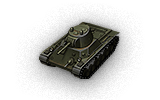 T-127
T-127 
 T-46
T-46 T-70
T-70
 BT-7
BT-7 T-80
T-80 Valentine II
 A-20
A-20 T-50
T-50
 MT-25
MT-25 T-50-2
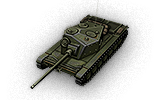
 LTG
LTG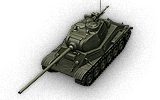
 LTTB
LTTB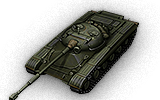 LT-432
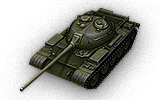
 T-54 ltwt.
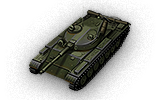
 T-100 LT
Medium Tanks
 T-29
T-29 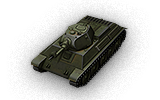 A-32
A-32 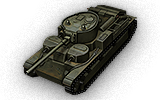 T-28E with F-30
 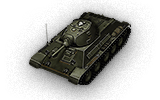 T-34 with L-11
 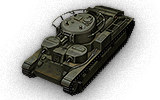 T-28
T-28 Matilda IV
 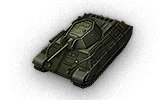 T-34 shielded
 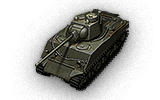 M4-85
M4-85 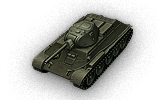 T-34
T-34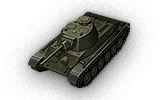 A-43
A-43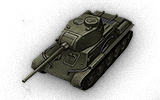 T-34-85M
 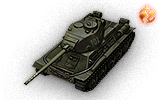 T-34-85 Rudy
 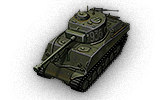 Loza's M4-A2 Sherman
 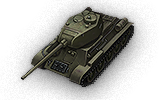 T-34-85
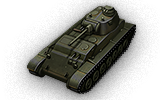 A-44
A-44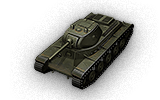 KV-13
KV-13 T-43
T-43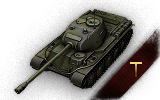 T-44-122
 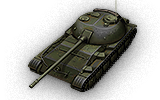 Object 416
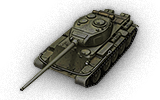 T-54 first prototype
 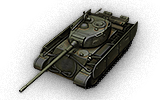 T-44-100 Igrovoy
  T-44-100 (R)
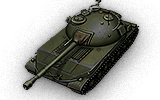 STG
STG 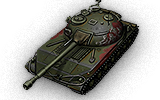 STG Guard
 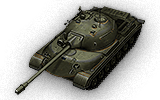 Object 274a
 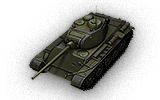 T-44
T-44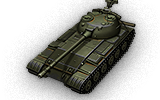 Object 430 Version II
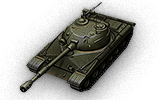 Object 430
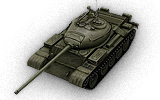 T-54
T-54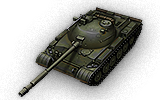 Object 140
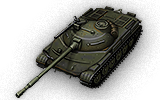 Object 907
 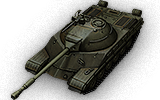 T-22 medium
 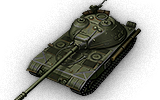 K-91
K-91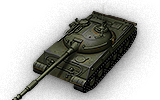 Object 430U
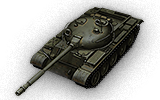 T-62A
T-62A
Heavy Tanks
 Churchill III
 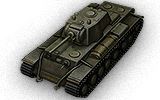 KV-220-2
 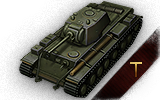 KV-220-2 Beta Test
  KV-1
KV-1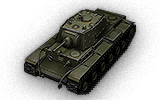 KV-1 shielded
 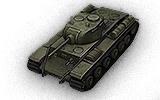 KV-1S
KV-1S KV-2
KV-2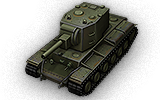 KV-2 (R)
 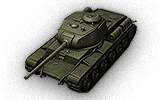 KV-85
KV-85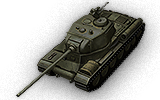 Object 244
 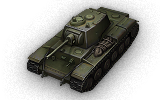 T-150
T-150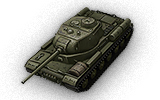 IS
IS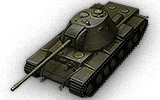 KV-3
KV-3 KV-122
 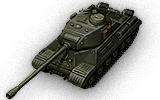 IS-2M
IS-2M  IS-2 shielded
  IS-2
IS-2  IS-3
IS-3 IS-6
IS-6  IS-6 B
  KV-5
KV-5  KV-4
KV-4 IS-5 (Object 730)
 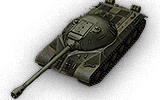 IS-3A
IS-3A  IS-3A Peregrine
 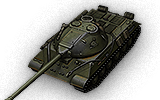 Kirovets-1
 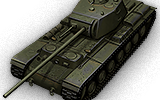 KV-4 Kreslavskiy
  Object 252U Defender
  Object 252U
  IS-M
IS-M Object 703 Version II
  IS-2-II
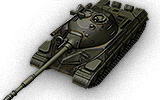 T-10
T-10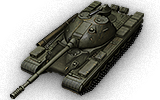 Object 777 Version II
 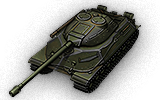 Object 257
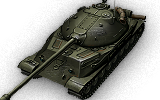 Object 705
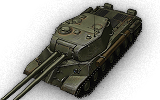 IS-3-II
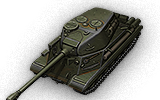 ST-I
ST-I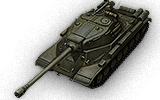 IS-4
IS-4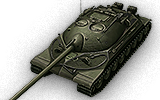 IS-7
IS-7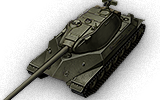 Object 260
 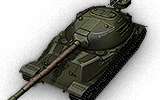 Object 705A
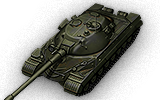 Object 277
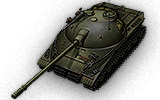 Object 279 early
 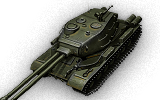 ST-II
ST-II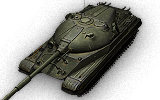 Object 780
Tank Destroyers
 AT-1
AT-1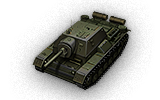 SU-76I
 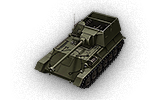 SU-85B
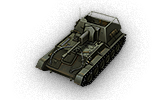 SU-76M
 SU-85
SU-85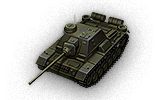 SU-85I
 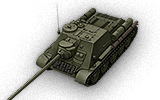 SU-100
 SU-100Y
  ISU-122S
  SU-152
 SU-100M1
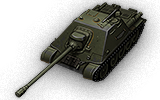 SU-122-44
 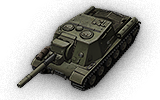 ISU-152
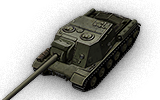 ISU-130
 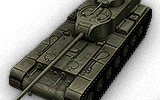 KV-4 KTTS
 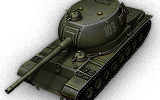 T-103
T-103  SU-130PM
  ISU-152K
 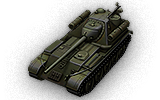 SU-101
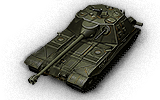 K-91-PT
  Object 704
 Object 263
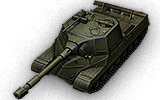 Object 268
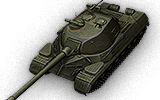 Object 268 Version V
 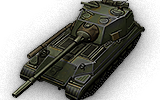 Object 268 Version 4
Self-Propelled Guns
 SU-18
SU-18 SU-26
SU-26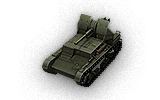 SU-5
SU-5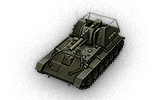 SU-122A
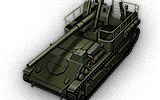 SU-8
SU-8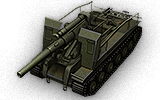 S-51
S-51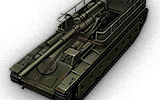 SU-14-1
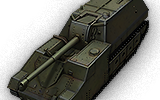 SU-14-2
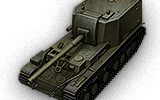 212A
212A Object 261