Cartes
| Version du 1 mars 2011 à 19:48 | Version du 18 mai 2011 à 03:11 | |||
| Ligne 15 : | Ligne 15 : | |||
| |n=Himmelsdorf | |n=Himmelsdorf | |||
| |s=600m x 800m | |s=600m x 800m | |||
| ? | |d= | + | |d=Meaning "sky village" in German, this labyrinth of streets and squares are a large hindrance for artillery and tank destroyers, but ideal for speedy breakthrough and bypass by medium and light vehicles. With the castle dominating the area, access roads running by the hill and along the railway lines to help you out of the impasse. | |
| }} | }} | |||
| {{Map | {{Map | |||
Version du 18 mai 2011 à 03:11
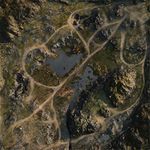
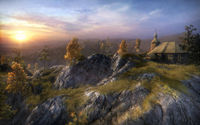
Swamps, rocks, and cliffs determine major avenues of approach on this map. This map, with sparse protection and no buildings, gives the combat advantage to artillery. Concentrate your attacks along the path of your main advance, while conducting delaying and defensive actions along the rest of your front lines.
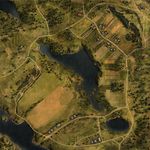
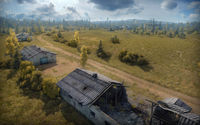
Initial staging areas are separated by a wide open field, ideal for artillery and defensive operations. Make use of flanking maneuvers and natural defenses like woods, hills, and farmhouses, as these can be decisive. Another option is a well-coordinated high-speed combined arms attack across the field which could bring victory, but at the risk of a bloody loss.
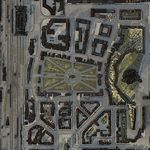
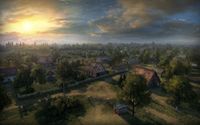
Meaning "sky village" in German, this labyrinth of streets and squares are a large hindrance for artillery and tank destroyers, but ideal for speedy breakthrough and bypass by medium and light vehicles. With the castle dominating the area, access roads running by the hill and along the railway lines to help you out of the impasse.
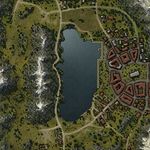
An isolated mountain valley on one flank and city blocks on the other allow you to thrust close to the enemy. A large lake in the middle gives long-range weapons a clear field of fire.
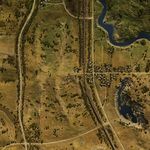
Generally open, but hilly, terrain around a vital railroad, with groups of trees providing shelter for tank destroyers. On the offensive, watch your own flanks while striking against the enemy flanks. Artillery has free reign, although it is still vulnerable to raids by light vehicles.
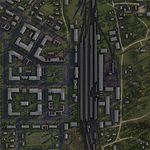
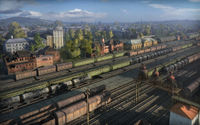
A mixture of city outskirts and suburban areas with railroad tracks spanning and dividing this map. Plan your tactics to take advantage of defensive chokepoints and cover open areas with your vehicles. Artillery is great for deterring enemy breakthroughs, but remains almost defenseless when exposed to enemy vehicles attacking from cover.
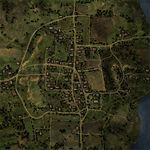
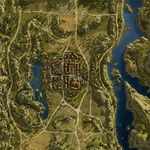
A small town dominates the center of the map, with a large forest providing concealment in the east and high ground to the west. The forest provides effective concealment, but lacks cover from fire; whereas the town has plentiful cover, but lacks concealment.
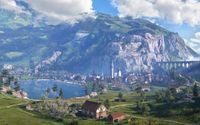
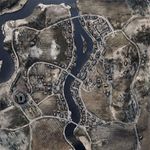
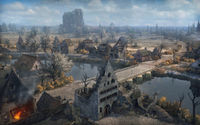
A large river splits this map in half, with three bridges acting as chokepoints between halves. A small town surrounds the center bridge, while the north and south bridges have fewer buildings providing cover. A large castle overlooks the west half of the map on a large hilltop, offering cover and supporting fire positions. Hills overlook the city in the east, with sufficient vegetation to provide some concealment for tanks.
A flat hilltop in the center of this map provides an excellent firing position, but the short drive from either starting position makes climbing the hill a dangerous endeavor. Nestled in the canyon northeast of the hill is the small village of Pagorki; offering a tempting route with plenty of cover, but one that is exposed if the enemy controls the hill. West of the hill, surrounded by shallow water, is a small island which offers good cover while providing a large fire zone. While the island is protected from the hill, it is, for the most part, vulnerable to flanking attacks or fire from multiple angles. The island cover is solid, but not particularly large.
A unique map in that the teams do not start near the flags, Komarin offers multiple tactical options. The teams start in the north and south, divided by rivers offering three routes. The center route is a large, elevated, and wooded island connected by bridge to the south, and offers firing positions to nearly the entire map, but at the cost of being exposed if spotted. A small village on both the west and east side of the map offer attackers valuable cover en route to the flag, but leave any tank passing the village exposed to covered and concealed defenders once they leave the village.
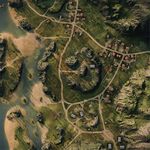
Starting in the north and south, both team are connected through a valley on the extreme west of the map. Large boulders offer cover south of the valley, and a small town provides cover to the north. The eastern portion of the map is elevated, with two large jutting hills providing cover from enemy fire. An overlooking position near the center of the map allows tanks to fire into the valley from above. Plentiful cover throughout the area allow for multiple attack routes, with careful coordination and flanking playing a significant role.
A large abbey and town fill the center of the map with three roads allowing passage from the north and south, and includes an elevated firing position in the abbey's courtyard at the highest point on the hill. West of the town is an elongated hill with several positions allowing fire down into the town. Further west and past the hill, a valley offers significant protection against artillery fire. East of the town lies a curved cliff road which affords shielding from most tank and artillary fire, but forces attackers to travel in a single path.
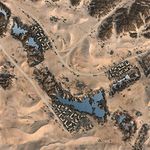
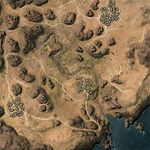
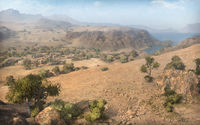
A mostly open map offering little concealment, but providing plentiful cover due to the large number of sand dunes. Three small villages provide temporary cover at best, but are easily destroyed, so they must be used cautiously. Each flag is well protected with a ridge offering defenders cover, concealment, and excellent firing positions. Plentiful cover allows an excellent arena for run and gun tactics while offering many routes for tanks to engage the enemy and make use of their mobility.
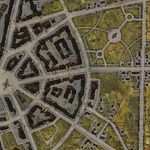
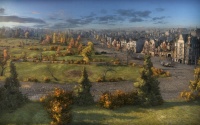
Concentric city streets, along with dense forests and bushes in the overgrown park allow for hidden maneuvers and redeployment of your troops. Although artillery fire is of limited use in the city, the debris provides effective cover for your troops.
A large valley filled with rocks, vegetation, and a small village surrounding a dried out river bed separate the two teams. The large hills on either side of the valley offer many firing positions, and very little cover in the valley will protect a large tank completely against all positions. Regardless of approach, attackers will face a long climb into the enemy's camp, and effective use of the cover en route is essential. The northern approach offers plentiful protection to attack either hill, but the southern approach makes up for lack of protection with shorter distances and better concealment.
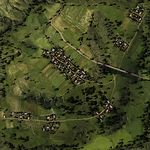
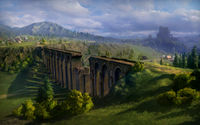
A wonderfully lush area, Westfield features forests, fields, farmland, and multiple villages throughout the map. Included is a large war-damaged bridge crossing the eastern valley. Plentiful ridges give ambush positions along nearly every route, and large fields can leave a tank vulnerable when moving between positions.
